 The Team Foundation Server provides a collection of collaborative software development tools that integrate with your existing IDE or editor, enabling your cross-functional team to work effectively on software projects of all sizes. This acticle describes the basic installation and configuration process of Microsoft Team Foundation Server 2015 Express (Update 1, German) using a downloaded ISO image. Please note that must have administrative privileges to install this software package.
How do I do that?
Step 1: Install Team Foundation Server Software
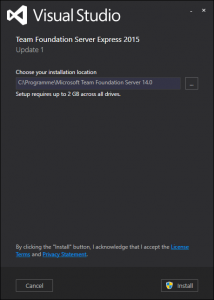
- Run the setup application (
tfs_setup.exeon the ISO image).
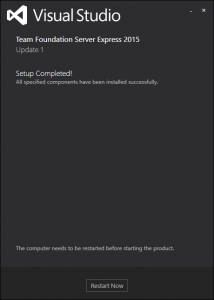
- Press [Install] to start installation.
- Press [Restart Now] to finish the installation.
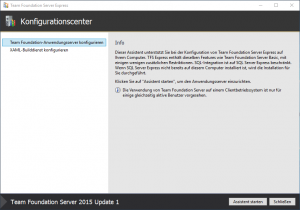
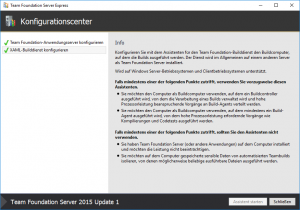
- After reboot the TFS Configuration Center starts automatically.
Step 2: Configure Team Foundation Application Server
- Select [Configure Team Foundation Application Server] and press [Start Assistent].
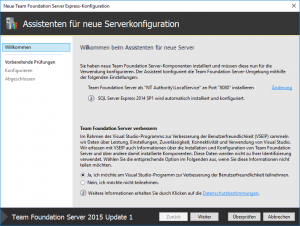
- After the assistant starts the default configuration is displayed. Press [Next] to start configuration validation.
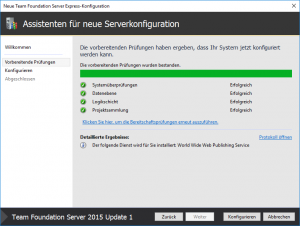
- After validation ends press [Configure] to start configuration.
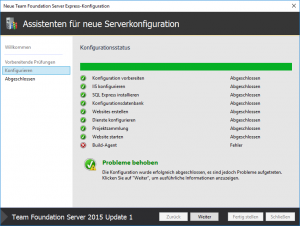
- After configuration ends press [Next] to finish configuration; ignore error messages regarding to Build Service.
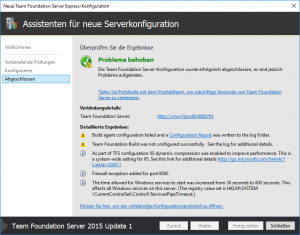
- Press [Close] to end the assistant.
Step 3: Configure Team Foundation Build Service
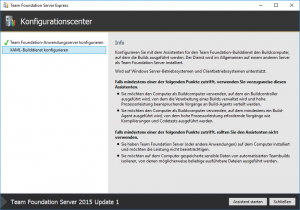
- Select [Configure XAML-Builddienst] and press [Start Assistent].
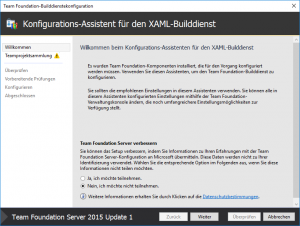
- After the assistant starts the welcome screen is displayed. Press [Next] to start the configuration.
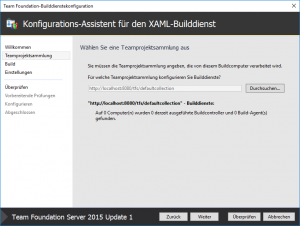
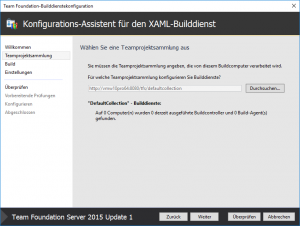
- Define the default project collection for the build service:
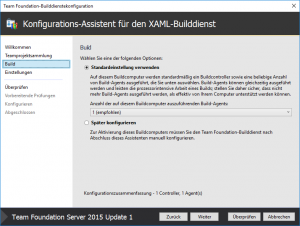
- Select option [Take Default Settings] and press [Next] to proceed.
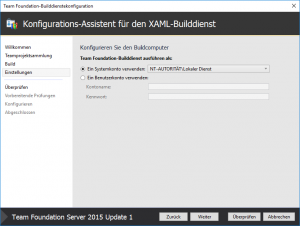
- Select option [Use System Account] and press [Next] to proceed.
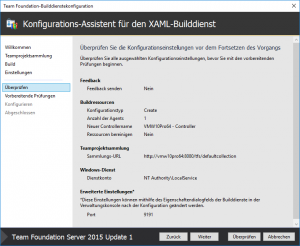
- Press [Next] to start validation of settings.
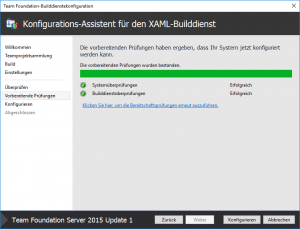
- After validation ends press [Configure] to start configuration.
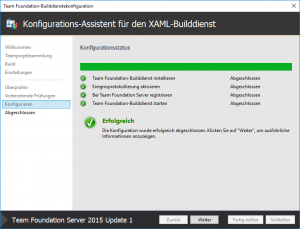
- After configuration ends press [Next] to finish configuration.
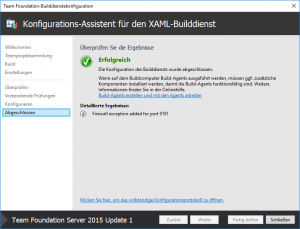
- Press [Close] to end the assistant.
Step 4: Finish Configuration Process
What has just happened?
Your TFS was installed into path C:\Program Files\Microsoft Team Foundation Server 14.0\ and can now be accessed using URL http://{computername}:8080/tfs/ or http://localhost:8080/tfs/ .
For data management the MS SQL Server Express software was installed and the SQL Server instance was named {Computername}\SqlExpress.
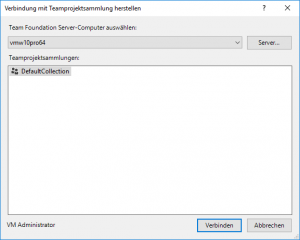
The default Team Project Collection named DefaultCollection can be accessed using URL http://{Computername}:8080/tfs/DefaultCollection/ .
And how does it continue?
Managing Your TFS Installation
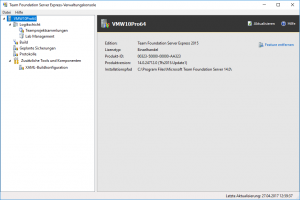
To manage your TFS Installation use the TFS Management Console (TfsMgmt.exe) which is located in the Tools subfolder in installation path.
Limitations
Attention: If the computer is renamed after the installation of TFS, the TFS services no longer function without additional interventions and you always receive timeout messages. There is currently no known solution.
Further Information
- Connect and synchronize with TFS
- Direct Download of TFS ISO Image from Microsoft Server
- Direct Download of TFS Web Installer from Microsoft Server
- Visual Studio Download Area at Microsoft
- Overview Team Foundation Server (TFS) at Microsoft


